Trezor.io/Start – Complete Guide to Setting Up Your Trezor Hardware Wallet
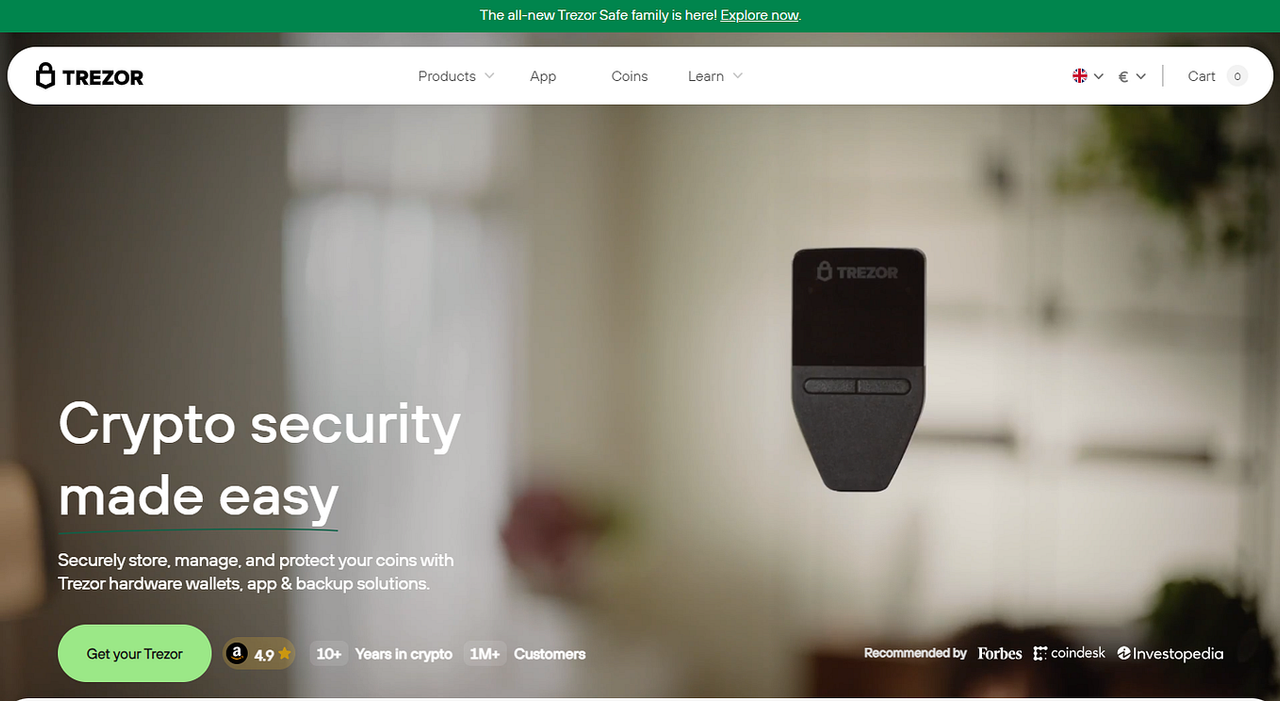
Trezor.io/Start is the official onboarding page for setting up a Trezor hardware wallet. If you have recently purchased a Trezor Model One or Trezor Model T, this page is the safest and most reliable place to begin. Starting at the official setup page ensures that your device is authentic, your wallet is initialized securely, and your private keys remain under your control at all times.
Hardware wallets are widely regarded as one of the most secure ways to store cryptocurrency, and Trezor is a pioneer in this space. By following the instructions provided on Trezor.io/Start, users can confidently protect their digital assets from hacking attempts, phishing scams, and online threats.
What Is Trezor.io/Start?
Trezor.io/Start is a dedicated setup portal created by Trezor to guide users through the initial configuration of their hardware wallet. It provides clear, step-by-step instructions for connecting the device, installing firmware, creating a wallet, and backing up the recovery seed.
This page plays a critical role in user security. Many phishing websites attempt to imitate Trezor’s interface and trick users into entering sensitive information. By using the official Trezor.io/Start page, you minimize the risk of falling victim to scams and ensure that you are using genuine software.
Why Choose a Trezor Hardware Wallet?
Trezor hardware wallets are designed with one goal in mind: maximum security. Unlike mobile wallets, browser extensions, or exchange wallets, Trezor devices store private keys offline. This means your keys are never exposed to the internet, making it extremely difficult for hackers to access your funds.
All sensitive operations, such as signing transactions, are performed directly on the device. This eliminates the risk of malware altering transaction details without your knowledge. Every action must be physically confirmed on the Trezor screen, ensuring you remain in full control.
Trezor wallets support a wide range of cryptocurrencies, including Bitcoin, Ethereum, Litecoin, and many ERC-20 tokens. This makes them an excellent choice for users managing multiple assets in a single secure environment.
How to Begin the Setup Process
To get started, connect your Trezor device to your computer using the supplied USB cable. Open your web browser and manually type Trezor.io/Start into the address bar. Avoid clicking links from emails or advertisements, as these can sometimes lead to fake websites.
Once you reach the official page, you will be guided through the setup process. If your device is new, you will likely be prompted to install or update the firmware. This step ensures that your wallet has the latest security patches and features.
After the firmware installation is complete, you can proceed to create a new wallet or recover an existing one using a recovery seed.
Creating a New Wallet
When you create a new wallet, your Trezor device generates a unique recovery seed. This seed consists of 12, 18, or 24 words, depending on your chosen configuration. These words are generated entirely offline on the device, ensuring no one else can see them.
You will be asked to write these words down in the exact order displayed. This is not optional. The recovery seed is the master backup of your wallet. If your Trezor is lost, stolen, or damaged, the recovery seed is the only way to restore access to your cryptocurrency.
Understanding the Importance of the Recovery Seed
The recovery seed is the most important part of your wallet security. Anyone who has access to it can fully control your funds. For this reason, it must be protected with extreme care.
Never take photos of your recovery seed. Never store it digitally on your phone, computer, or cloud storage. Never share it with anyone. Trezor will never ask for your recovery seed, and any website, email, or person requesting it is attempting a scam.
It is recommended to store your recovery seed in a secure physical location, such as a safe or a locked drawer. Some users choose to use fireproof or metal backup solutions for additional protection.
Using Trezor Suite to Manage Your Crypto
After completing the setup process through Trezor.io/Start, you will manage your assets using Trezor Suite. Trezor Suite is the official software interface designed to work seamlessly with Trezor devices.
With Trezor Suite, you can:
Send and receive cryptocurrency
View balances and transaction history
Manage multiple accounts
Track your portfolio
Adjust security settings
Every transaction initiated in Trezor Suite must be approved on the Trezor device itself. This ensures that no unauthorized action can take place without your knowledge.
Transaction Verification and User Control
One of the strongest security features of Trezor wallets is on-device transaction verification. When you send crypto, the transaction details appear on the device screen, not just on your computer.
This prevents malware from secretly changing recipient addresses or transaction amounts. You must physically confirm every transaction, ensuring complete transparency and control.
Firmware Updates and Device Maintenance
Keeping your Trezor firmware up to date is essential for long-term security. Firmware updates often include security improvements, bug fixes, and support for new cryptocurrencies.
Trezor Suite will notify you when an update is available and guide you through the process safely. Always follow official instructions when updating your device.
Never download firmware from unofficial websites or third-party sources.
Advanced Security Features
Trezor devices offer advanced features for users who want additional protection. One such feature is passphrase protection. A passphrase acts as an extra layer of security on top of your recovery seed.
When enabled, your wallet cannot be accessed without both the recovery seed and the correct passphrase. This is especially useful for users storing large amounts of cryptocurrency or holding assets long term.
Best Security Practices for Trezor Users
To maximize your wallet’s security, follow these best practices:
Always type Trezor.io/Start manually into your browser
Never click setup links from emails or ads
Keep firmware and Trezor Suite updated
Verify transaction details on the device screen
Store your recovery seed offline
Never share your recovery seed with anyone
Avoid connecting your wallet to untrusted devices
These habits significantly reduce your exposure to scams and cyber threats.
Long-Term Storage and Peace of Mind
One of the biggest advantages of using a Trezor hardware wallet is peace of mind. Knowing that your private keys are offline and under your control allows you to hold cryptocurrency with confidence.
Whether you are a long-term investor, an active trader, or a beginner learning about crypto, Trezor provides a secure foundation for managing digital assets safely.
Conclusion
Trezor.io/Start is the essential first step in securing your cryptocurrency with a Trezor hardware wallet. By following the official setup process, protecting your recovery seed, and using Trezor Suite responsibly, you maintain full ownership of your digital assets.
In a world where online threats and scams are increasingly common, hardware wallets like Trezor offer a reliable and proven solution. Starting at Trezor.io/Start ensures your crypto journey begins on the right path—secure, private, and fully under your control.